8-Step Guide for Stamped Concrete Process
- 10, Feb 2021
- J&R Chavez Landscaping LLC
If bringing new life to your yard is on your to-do list, then we recommend you consider some decorative concrete options. It would increase your home’s value and beauty! In today’s blog, we will talk about the stamped concrete process.
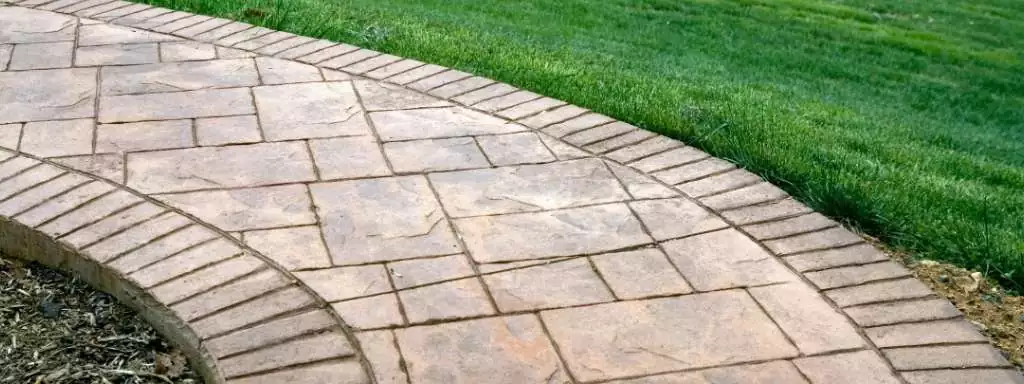
Stamped concrete is one of the types of patio finishes that can completely improve your outside space. Besides being attractive, it is a budget-friendly investment that, in the long run, will benefit you. So, stay tuned to learn about this process with this 8-step guide.
Stamped Concrete Process: Follow These 8 Steps
One of the greatest benefits of opting for stamped concrete is that you can get the look of a stone patio for a more affordable price. For that reason, many people choose this decorative concrete option.
You can stamp your concrete patio yourself, but we recommend working with a professional for better results.
This is the stamped concrete process:
- Prior preparation of the subgrade, forms, and reinforcement
- Placing and finishing the concrete’s surface
- Applying color
- Applying release agent
- Start the stamping process
- Curing and cleaning the concrete
- Cutting joints
- Sealing the stamped concrete
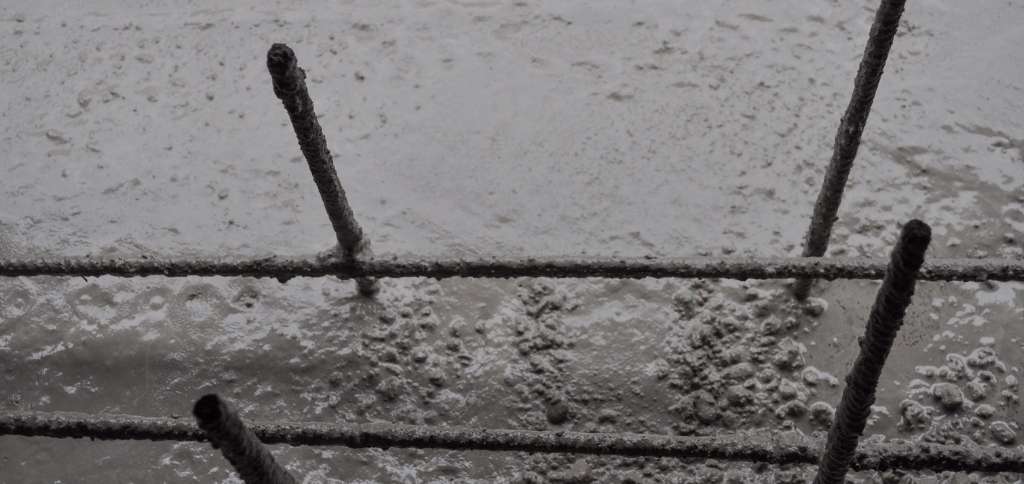
Prior Preparation of the Subgrade, Forms, and Reinforcement
Before you start doing anything, you have to prepare your patio for the work you’re going to do. This includes subgrade preparation, installation of forms, and reinforcement.
If you want your concrete slabs to have great structural integrity, then you need to pay attention to subgrade preparation. The subgrade is what’s underneath the construction project. It is made of bedrock and needs to be well-compacted to prevent soil erosion under the concrete. It also helps with proper drainage.
The next step is placing the concrete forms, which can come in different materials such as wood, plastic, or metal. The forms are attached to stakes to help keep the concrete in the desired area. They also provide the proper slope or grade for the drainage, as well as clean corners for each slab.
The final step in the prior preparation procedure is installing reinforcement, which consists of steel bars or welded wire fabric. Reinforcement is crucial to control cracking and increase impact resistance.
Placing and Finishing the Surface of the Concrete
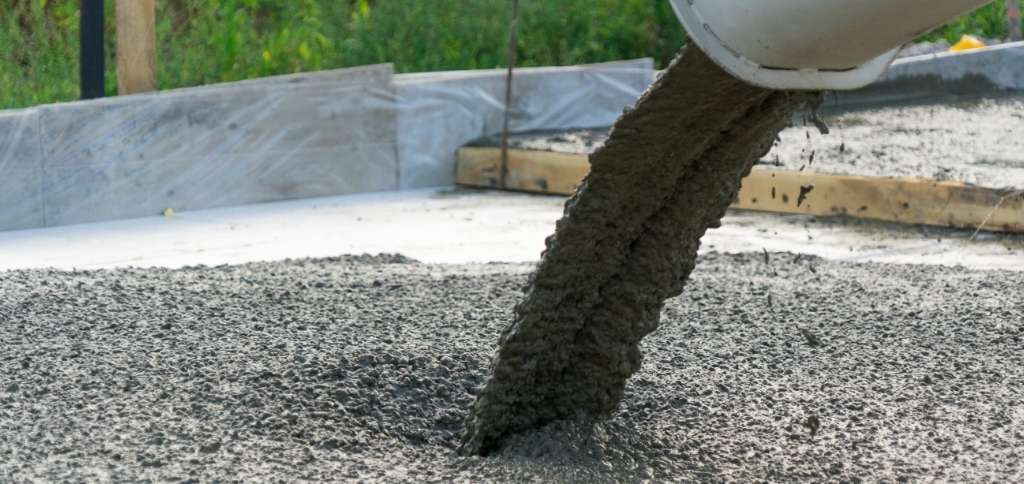
Once the subgrade is ready, you can now move on to placing the concrete. The most common way to place the concrete is to have the mix ready in a truck. Then, you’ll have to pull up to the area and deposit the concrete.
After you place it, you have to finish the surface of the concrete. This step is critical if you want to have a perfect base for the stamping process.
For a quality finishing job, you’ll have to remove any excess concrete and bring the surface to the proper grade. You can use a straight board or a tool called a screed. After this, you can opt for bull-floating to achieve a smoother surface.
For this step, we recommend using plastic to cover your landscaping, nearby buildings, or other structures from concrete splatter.
Applying Color
The next step is applying color to the concrete. There are two basic methods of applying the color, which are the integral color method and the broadcast method.
The integral color method involves placing liquid or powder color to the concrete in the truck. Before doing this, you need to decide what your base colors will be. This method combines the color with the concrete mix so that when it is poured, the slab is colored throughout.
The broadcast method uses a dust color hardener to color concrete. For this, you have to first pour the concrete and then apply the hardener. However, this process is much more labor-intensive than the first one. You have to make sure that you cover every part of the slabs and avoid any excess on the edges.
Apply Release Agent
An important step before the stamping process is to apply the release agent. If you skip this step, then the concrete stamps will not work.
For this, you apply the accent color release powder or a liquid release agent to the concrete. A release agent is what prevents the concrete from sticking during the curing process.
Make sure that you choose an accent color for the release agent that will complement the base color. What you’ll do is apply an even coat of the agent to the concrete slabs until the surface “glistens.”
Start the Stamping Process
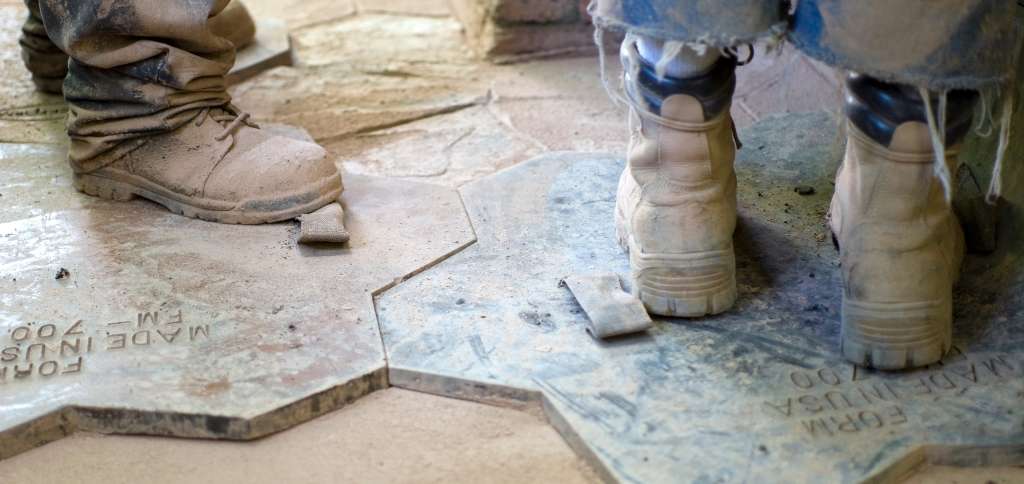
Once the concrete is ready, you can start the stamping process. The timing for this step is critical, so we recommend you proceed without any interruptions once you have started texturing.
Make sure that you have the layout for the stamp patterns diagrammed before you start doing anything. As a result, you’ll have a much clearer vision of how everything will look.
Work on the edges first and then use larger stamps to press on the rest of the slab. We recommend stamping the concrete in the same sequence as it was placed. Don’t lose focus on how the stamp pattern is going. In other words, don’t do the work randomly. If not, then the pattern will look irregular.
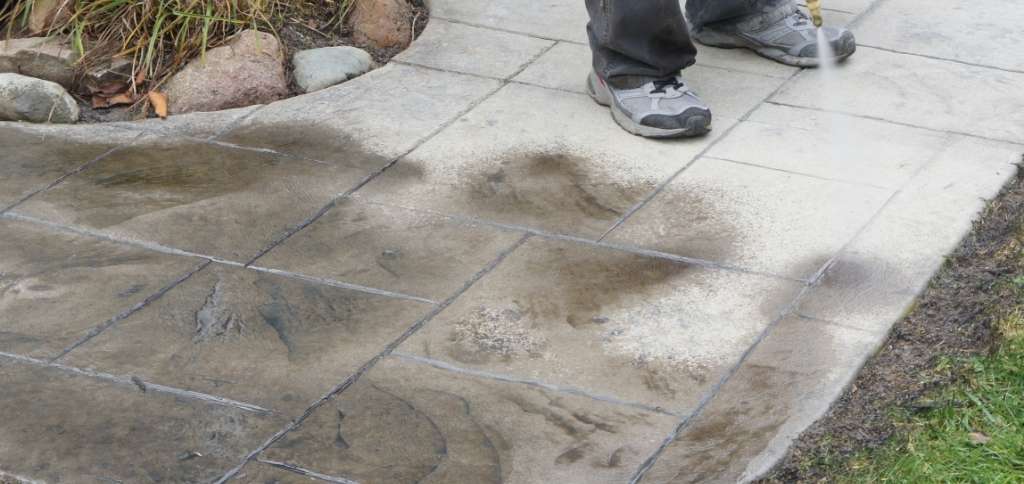
Curing and Cleaning the Concrete
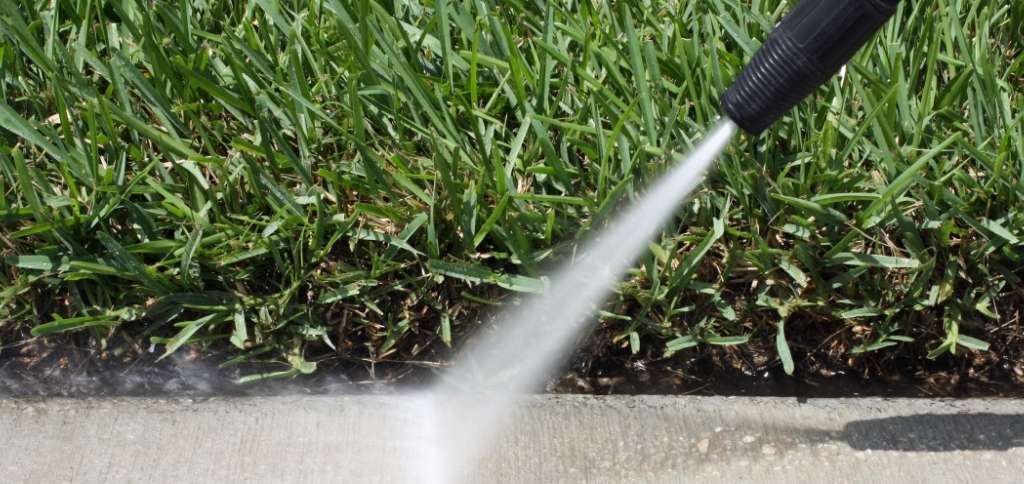
It’s vital that you let the concrete cure for a while. As a result, the concrete will become denser and less permeable. So, it will have more strength and durability.
However, before it starts curing, you must clean any colored release powder that you applied to the concrete. For this, you can use a water hose or broom to remove the excess release powder. We advise you to not use a lot of pressure around the grout lines. This is because you want to keep more release color on these areas for a more natural and shadowed effect.
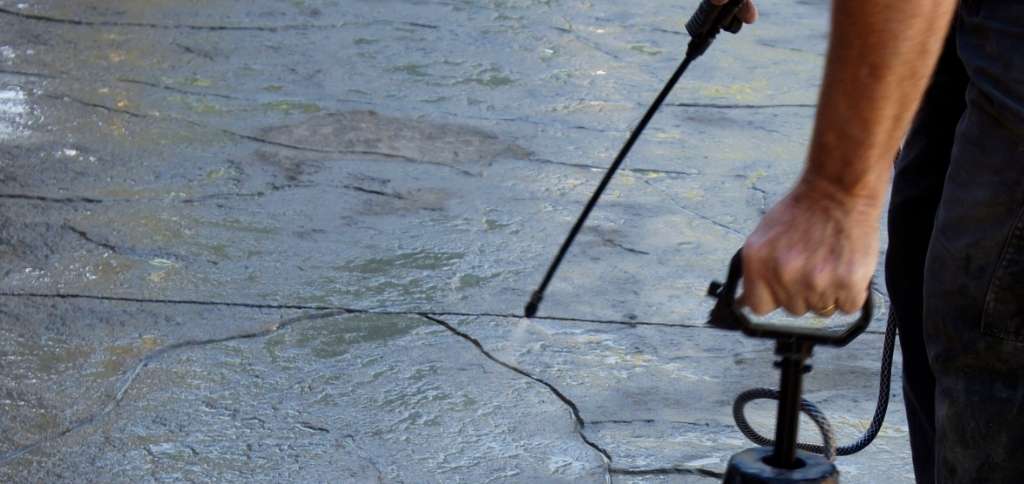
Cutting Joints
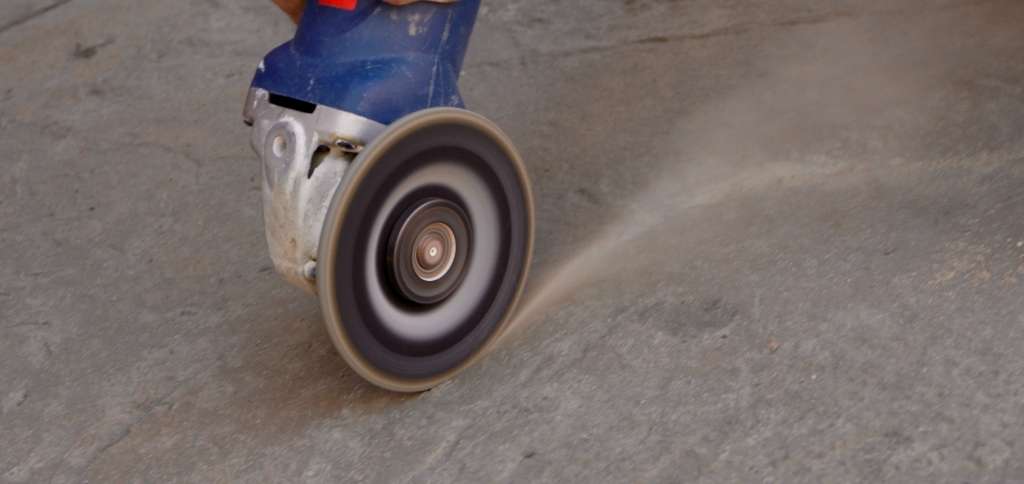
Cutting contraction joints in your concrete can help prevent cracks. So, it is a step you can’t miss. When you cut the joints at the proper depth and spacing, it will relieve stress on the concrete slab.
However, you can’t prevent all cracks with contraction joints. This is because some cracks appear due to temperature changes and drying shrinkage.
Before you move on to the final step, you can have the option of applying a secondary color.
Seal the Stamped Concrete
The stamping process is not complete until you seal the surface. The sealer will help enrich the color of the concrete as it adds a sheen to the surface.
Sealing also reduces the chances of surface discoloration and blocks stain penetration from chemicals, dirt, leaves, and other elements.
Make sure you have enough people helping you with the stamped concrete process. Three to four people are enough for a small backyard project. If you have a bigger patio, then you may have to consider looking for additional help.
Since this is a rather difficult project, we always recommend seeking professional help.
J & R Chavez Landscaping is always available to help. So, if you have any questions, be sure to contact our experts.